

|
|
![]()
![]()
|
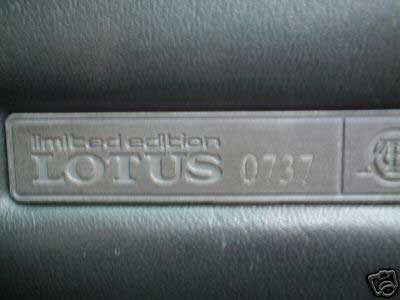
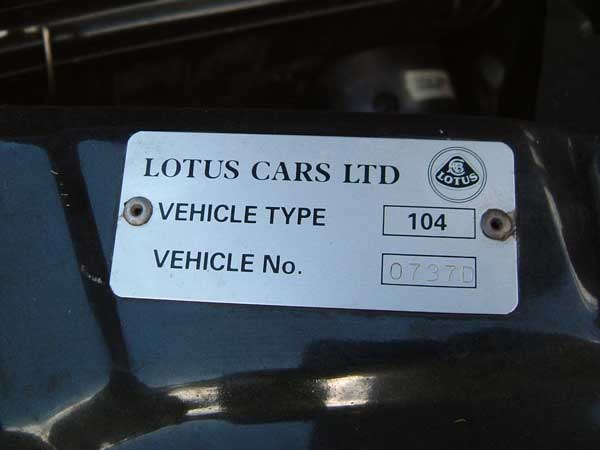
Info on 0737D |
|||||||||||
|
|
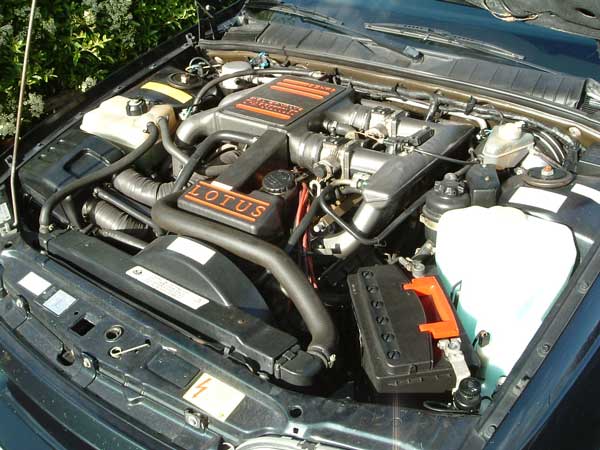
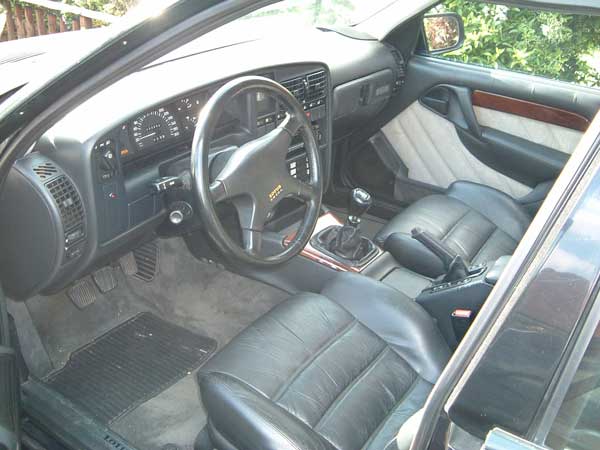
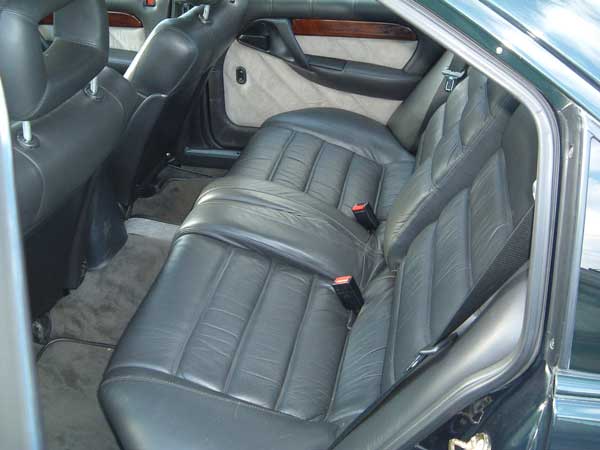
Engine & Interior Pics |
||||||||||
 |
 |
 |
 |
 |
|||||||
| Following the workshop fire which meant i'd lost all the mechanical parts from 890G midway through the restoration I needed to replace them one way or another. I first looked into buying the parts separately but parts were scarce & when found extremely expensive! To this end it worked out cheaper to buy a whole car & keep what I needed & then sell off the parts I didn't need to re-coupe some of my outlay. This helped cost wise but would also help other owners out for hard to find parts for their own cars. | |||||||||||
|
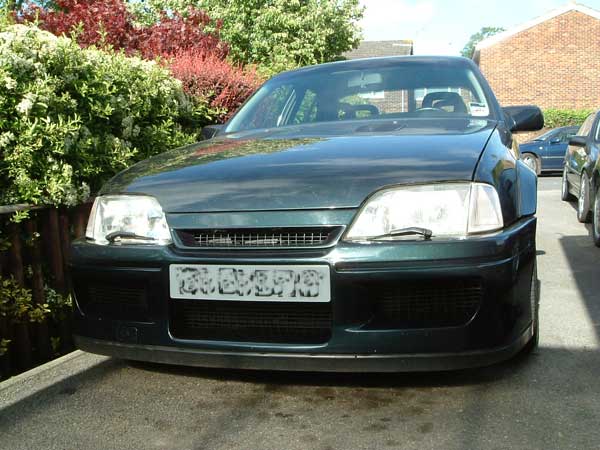
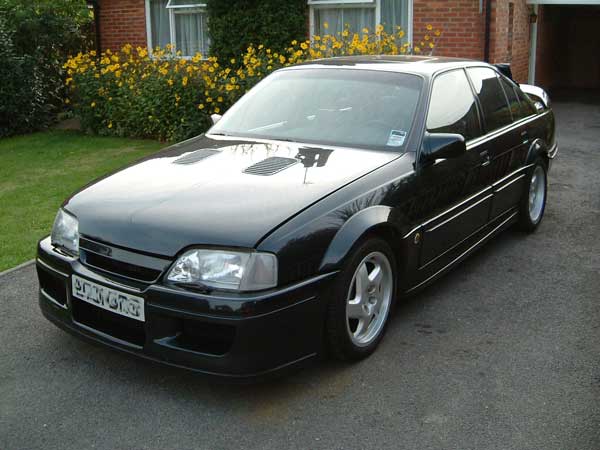
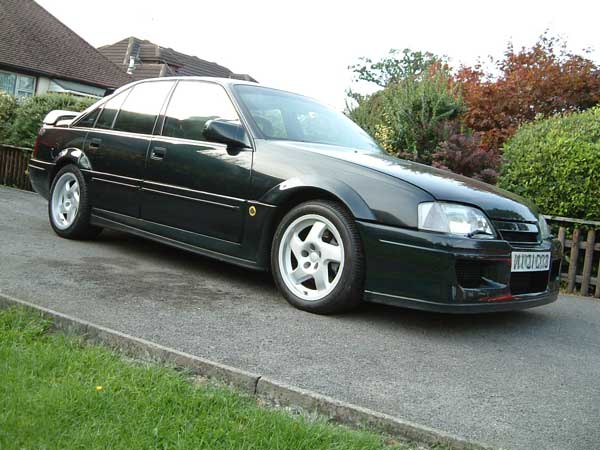
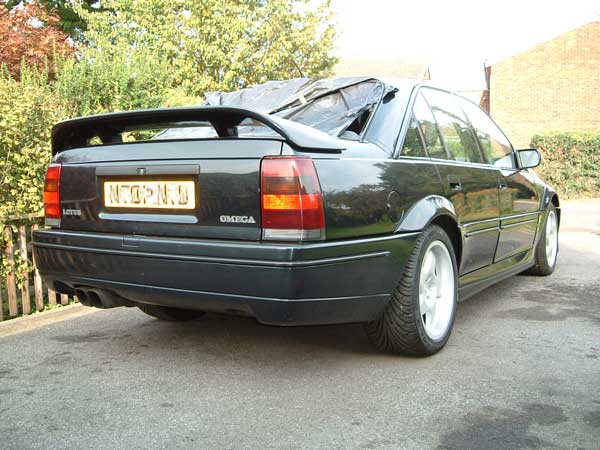
External Pics |
|||||||||||
 |
 |
 |
 |
 |
|||||||
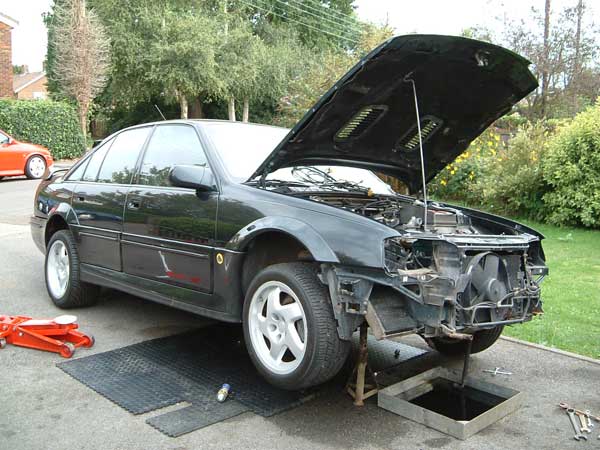
| So with that plan in mind I eventually found a suitable car. 737D was located & being a later car had the parts I wanted. It also only had only 56,000 miles, so the engine was perfect which was ideal for my situation. A price was agreed & then once I collected the car it was then stripped of all the parts available. The pictures make the car look in amazing condition but to be honest the bodywork was pretty tatty. | |||||||||||
|
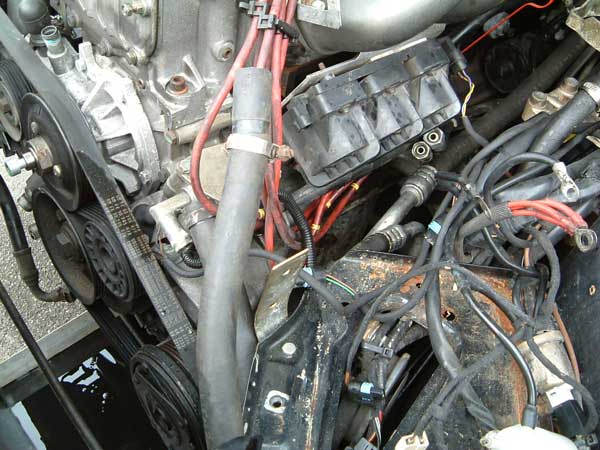
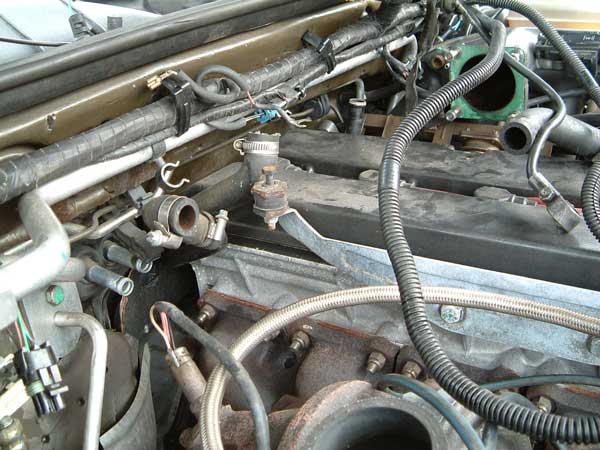
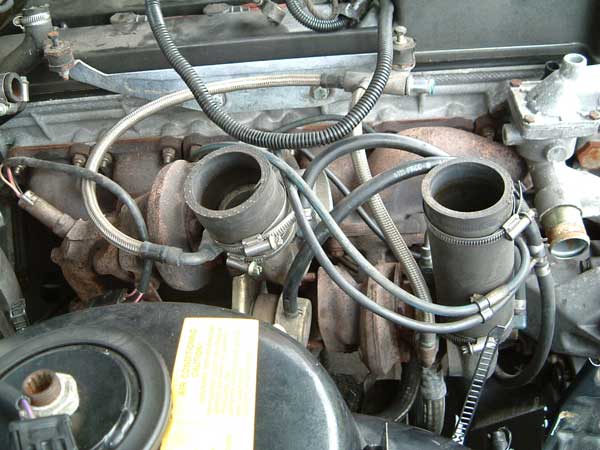
Being Stripped |
|||||||||||
 |
 |
 |
 |
 |
|||||||
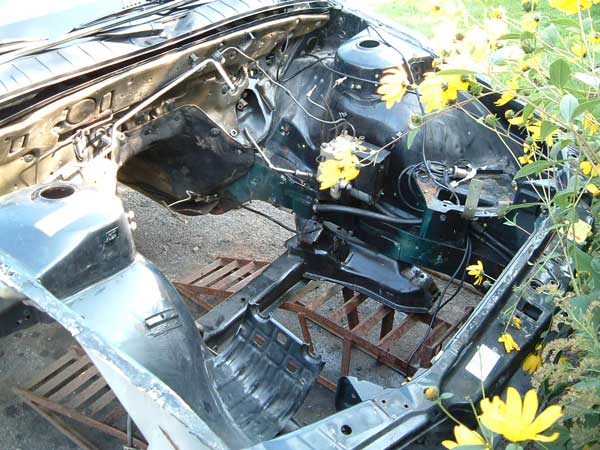
| These pics show the start of dismantling job, no point in taking loads as this is now the third car i've had to pull apart ! The last picture in this set shows what was left following the removal of parts from underneath the car. | |||||||||||
|
Car Completely Stripped |
|||||||||||
 |
 |
 |
 |
 |
|||||||
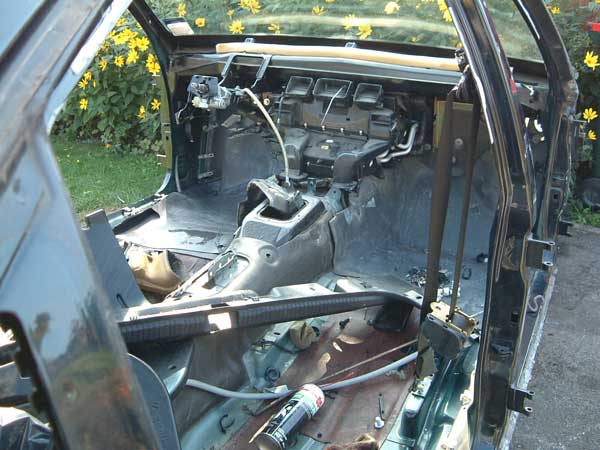
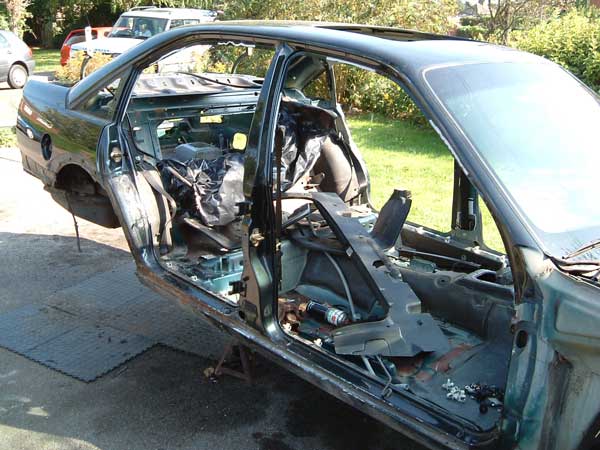
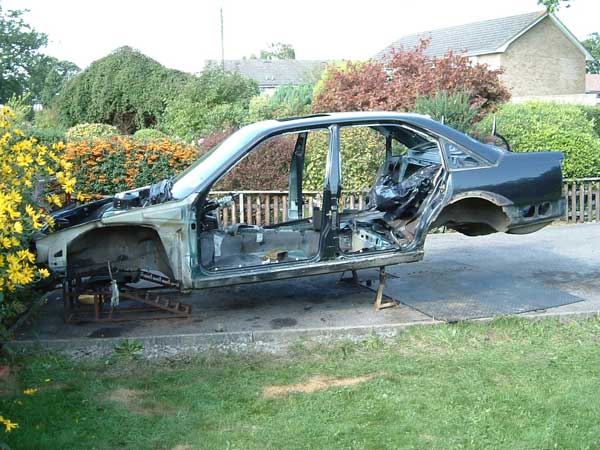
| After a couple of days all the parts I could salvage had been removed & what's left is the sorry state of what was once a very expensive car in its day. You may be thinking its an extreme measure on such a car but if you look at the pictures below you'll see this car had a few other hidden problems........ | |||||||||||
|
Stress Cracks Found |
|||||||||||
 |
 |
 |
 |
 |
|||||||
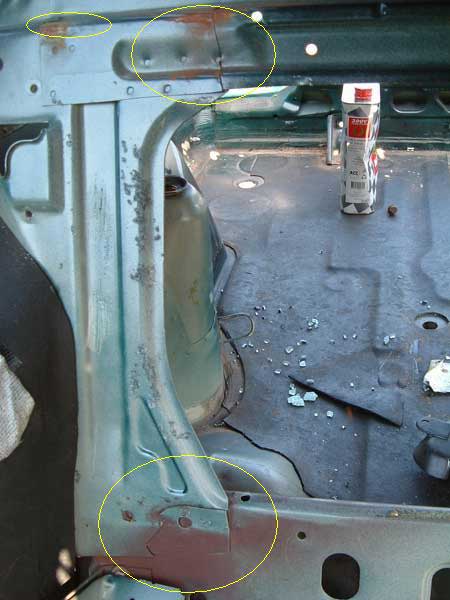
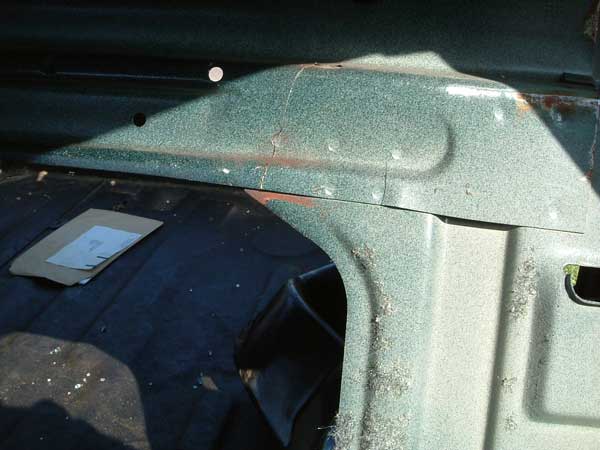
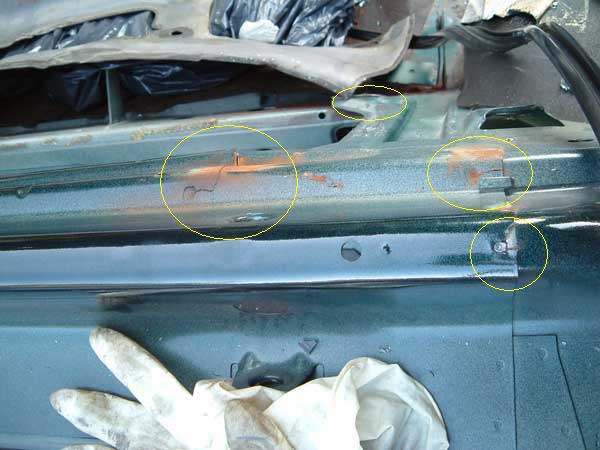
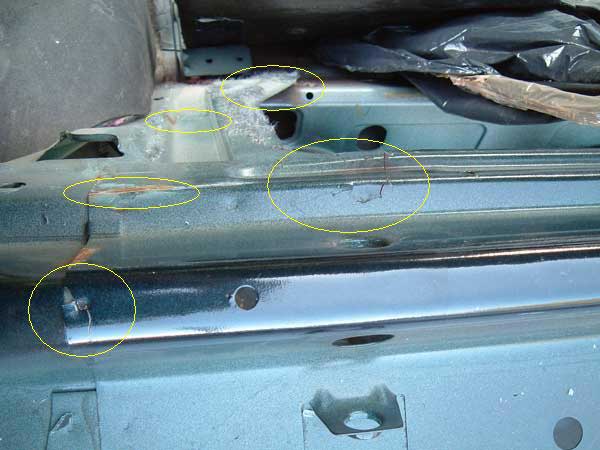
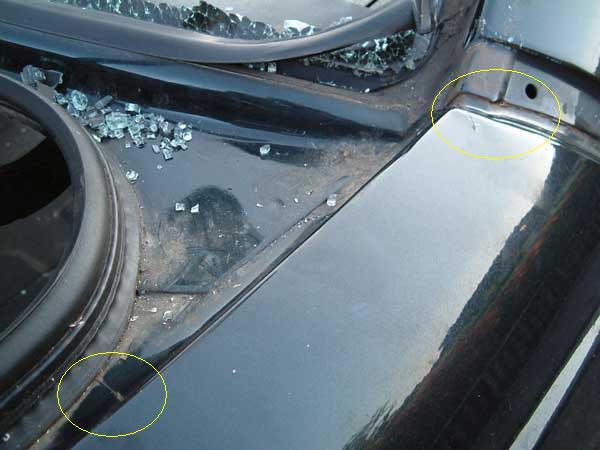
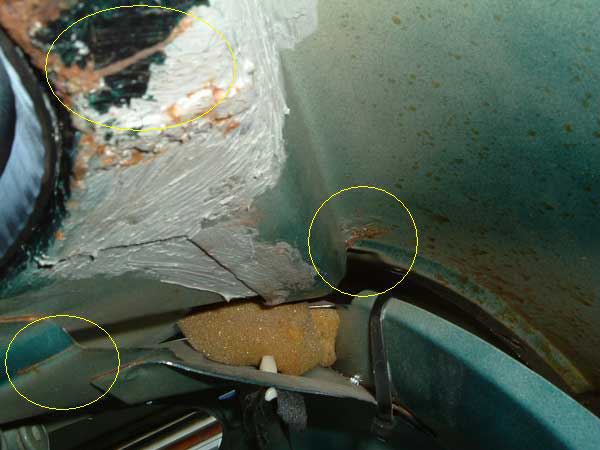
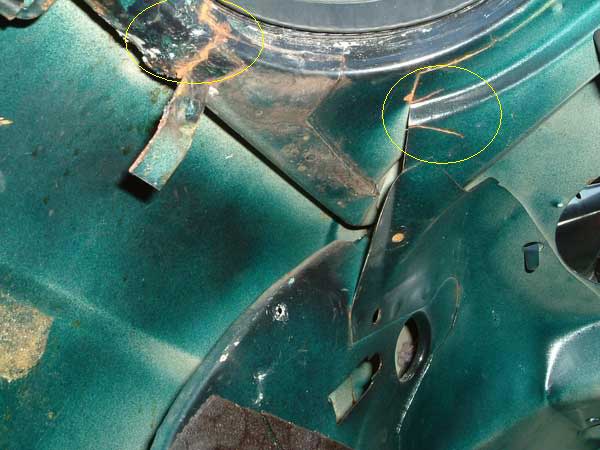
| When stripping the car I noticed that the whole back end of the car has suffered from some serious stress cracks to the chassis. Its only when you start pulling off the carpet & the parcel shelf that you could see what's going on underneath. The first two pictures show the section of car behind the rear seats that separates the cabin from the boot. You can see I have highlighted in yellow where these cracks have emerged. A close up of the top crack can be seen in the third picture. Now upon looking further into these cracks the 4th & 5th pictures are taken looking downwards on these two areas (as if your looking down through the rear window onto the parcel shelf). | |||||||||||
|
Stress Cracks |
|||||||||||
 |
 |
 |
 |
 |
|||||||
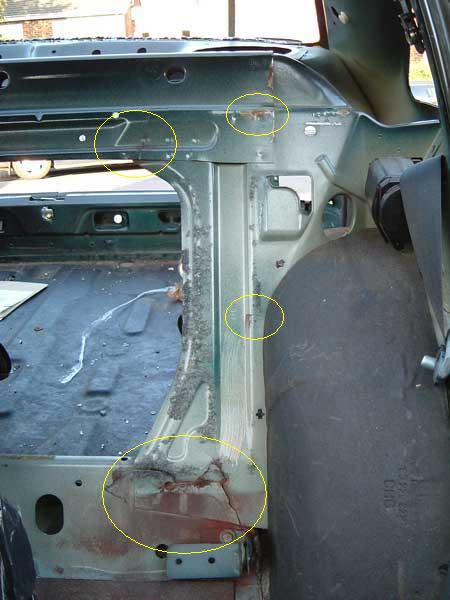
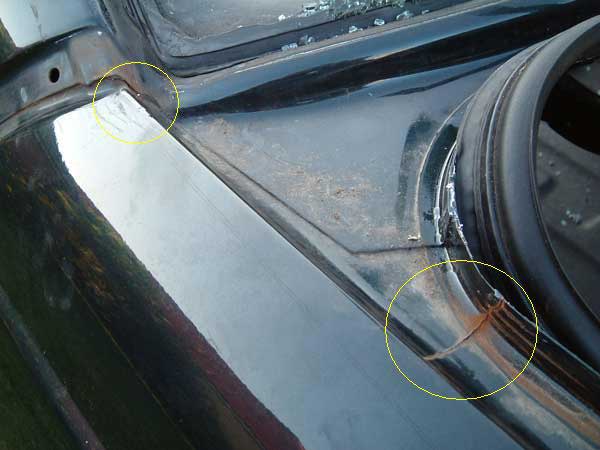
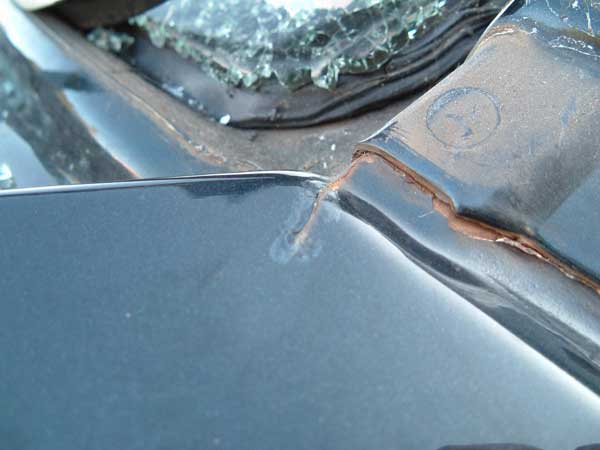
| The first three pictures here show the crack around the C pillar area from the outside of the car & the last two pictures show them from looking through the boot area. From what I can make out all this is because of the flex at the rear end of the car. Now I was hoping (wishing) that maybe this was a one off so I quickly trotted down to my garage to check my own car. Fortunately for me mine was no where near as bad as this one, however I did find that it was starting to go on the lower areas on the rear bulkhead. This I can easily remedy by plating and welding before it gets any worse which is certainly a job on my list to do. I hope that no one else's is as bad as this but it's worth checking..... | |||||||||||